Turtleponics Setup

How to Take Care of Red Eared Sliders - The Basics

Components
Spear
My turtle, Spear, whom I've had for over two years, is the centerpiece of Turtleponics. He is a red-eared slider turtle, and his presence is vital to the workings of the whole system. His waste is transported into the grow bed via the water pump and fertilizes the plants, which in turn, helps filter the water in his tank.
Grow Bed
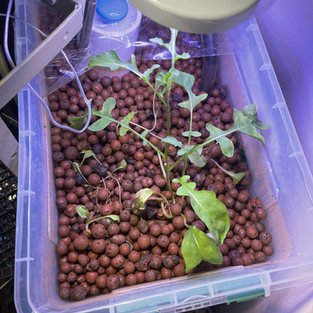
I cut a hole in the bottom of a plastic storage container and inserted a bell siphon. I sealed the cracks with hot glue to prevent leaking. I fashioned a pipe from PVC segments and ran it from the grow bed into the water tank to create a smoother flow. I filled the whole container with clay pebbles.
Lighting
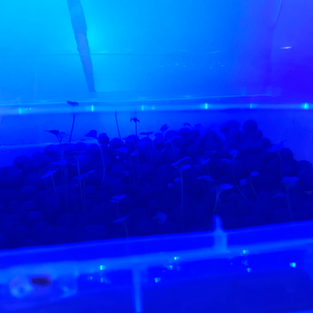
I attached a set of LED lights onto a cardboard cut-out and taped it onto the grow bed. I am experimenting with different light types to find out the optimum light for growing plants. See my "Research" section for more information.
Basking Area
I DIYed a basking area for my turtle using materials around my house, including a plastic laundry basket, egg crate, string, and zip ties. Doing so allowed me to create a sturdy, roomy, and escape-proof area for my turtle to dry off and bask.
Water Tank
This 55-gallon tank houses my turtle and provides dechlorinated water to the grow bed. A water pump is secured in the tank and transports water into the grow bed.
Filtration
I installed a hang-on filter on the side of the water tank to further filter the water and keep my tank clean. Choosing a hang-on filter allowed me to maximize the space inside my tank and allow more room for my turtle to swim.


